“Radios and avionics…check, set”. What needs to be checked and set? This checklist answers that question
Continue reading for the amplified checklist:
Startup
Navigation Database
The startup screen of our GPS will display our database currency information. For IFR flight, we are primarily concerned with our navigation database being up-to-date.
CDI / OBS test
Next, we need to check that our GPS will correctly move the CDI needle, and that it can detect our OBS selection. Our GPS will display the direction of our localizer and glideslope needles. We need to verify that the CDI is showing what the GPS is describing “half left, half up” — so we should verify that the CDI needle is actually showing a halfscale deflection left, and the glideslope needle is showing halfscale deflection up. The GPS will also describe the flags being out of view, the To/From indicator, and current OBS selection. The pilot must verify that the CDI displays exactly what the GPS shows
NOTE: small differences (less 4 degrees) sometimes exist between the GPS OBS reading and the OBS selected on the CDI, within 4 degrees is acceptable.
Fuel Quantity
Lastly, The pilot should input the fuel quantity. Should fuel quantity be a concern, it is very convenient to have the GPS to help with fuel planning. Some Technologically Advanced Aircraft (TAA) calculate fuel burn not just from time since startup, but also based off RPM setting!
Run-up
Flight Instruments
We are checking each of our 6-pack instruments:
Airspeed – zero, since we are stationary
Attitude indicator – within 5 degrees of our pitch and bank as it appears out the window (ramp surface may not be flat!)
Altimeter – Indicating our field elevation, given our altimeter setting, within 75ft
Turn Coordinator – wings level, ball in the cage (if ramp surface isn’t level, ball might not be in the cage)
Heading indicator – allign with compass
Vertical Speed Indicator – neutral
COM Freq’s
In the runup area, we’ll want to be on ground or tower (depending on runup-area location on the airport)
In our second radio, we will want our departure frequency. If we are doing a fast practice aproach after departure, we might want to put in our ASOS/ATIS freq. on standby in com two.
NAV Freq’s
We’ll want to load any applicable VOR, LOC, NDB… etc. frequencies. If reception is recieved, listen for the ident tone aswell.
Flight Plan
In our GPS, we will load our flightplan.
- In Garmin 430 units, simply press “FPL” button to access the flight plan page.
- In Garmin 650 units, Flight plan is found via the menu; “flight plan”.
Our flight plan is a list of waypoints in order. Our course will be the direct lines between each point.
After inputing our flight plan, we can verify correct route by viewing our route on map page.
A small note on local flights:
For extremely small short training flights, ie, KHIO, UBG, KMMV, KHIO, it can be helpful to only load departure procedure and arrival (NOT inputting a flightplan at all). This subject will be descussed in greater depth in seperate article, and will be linked here.
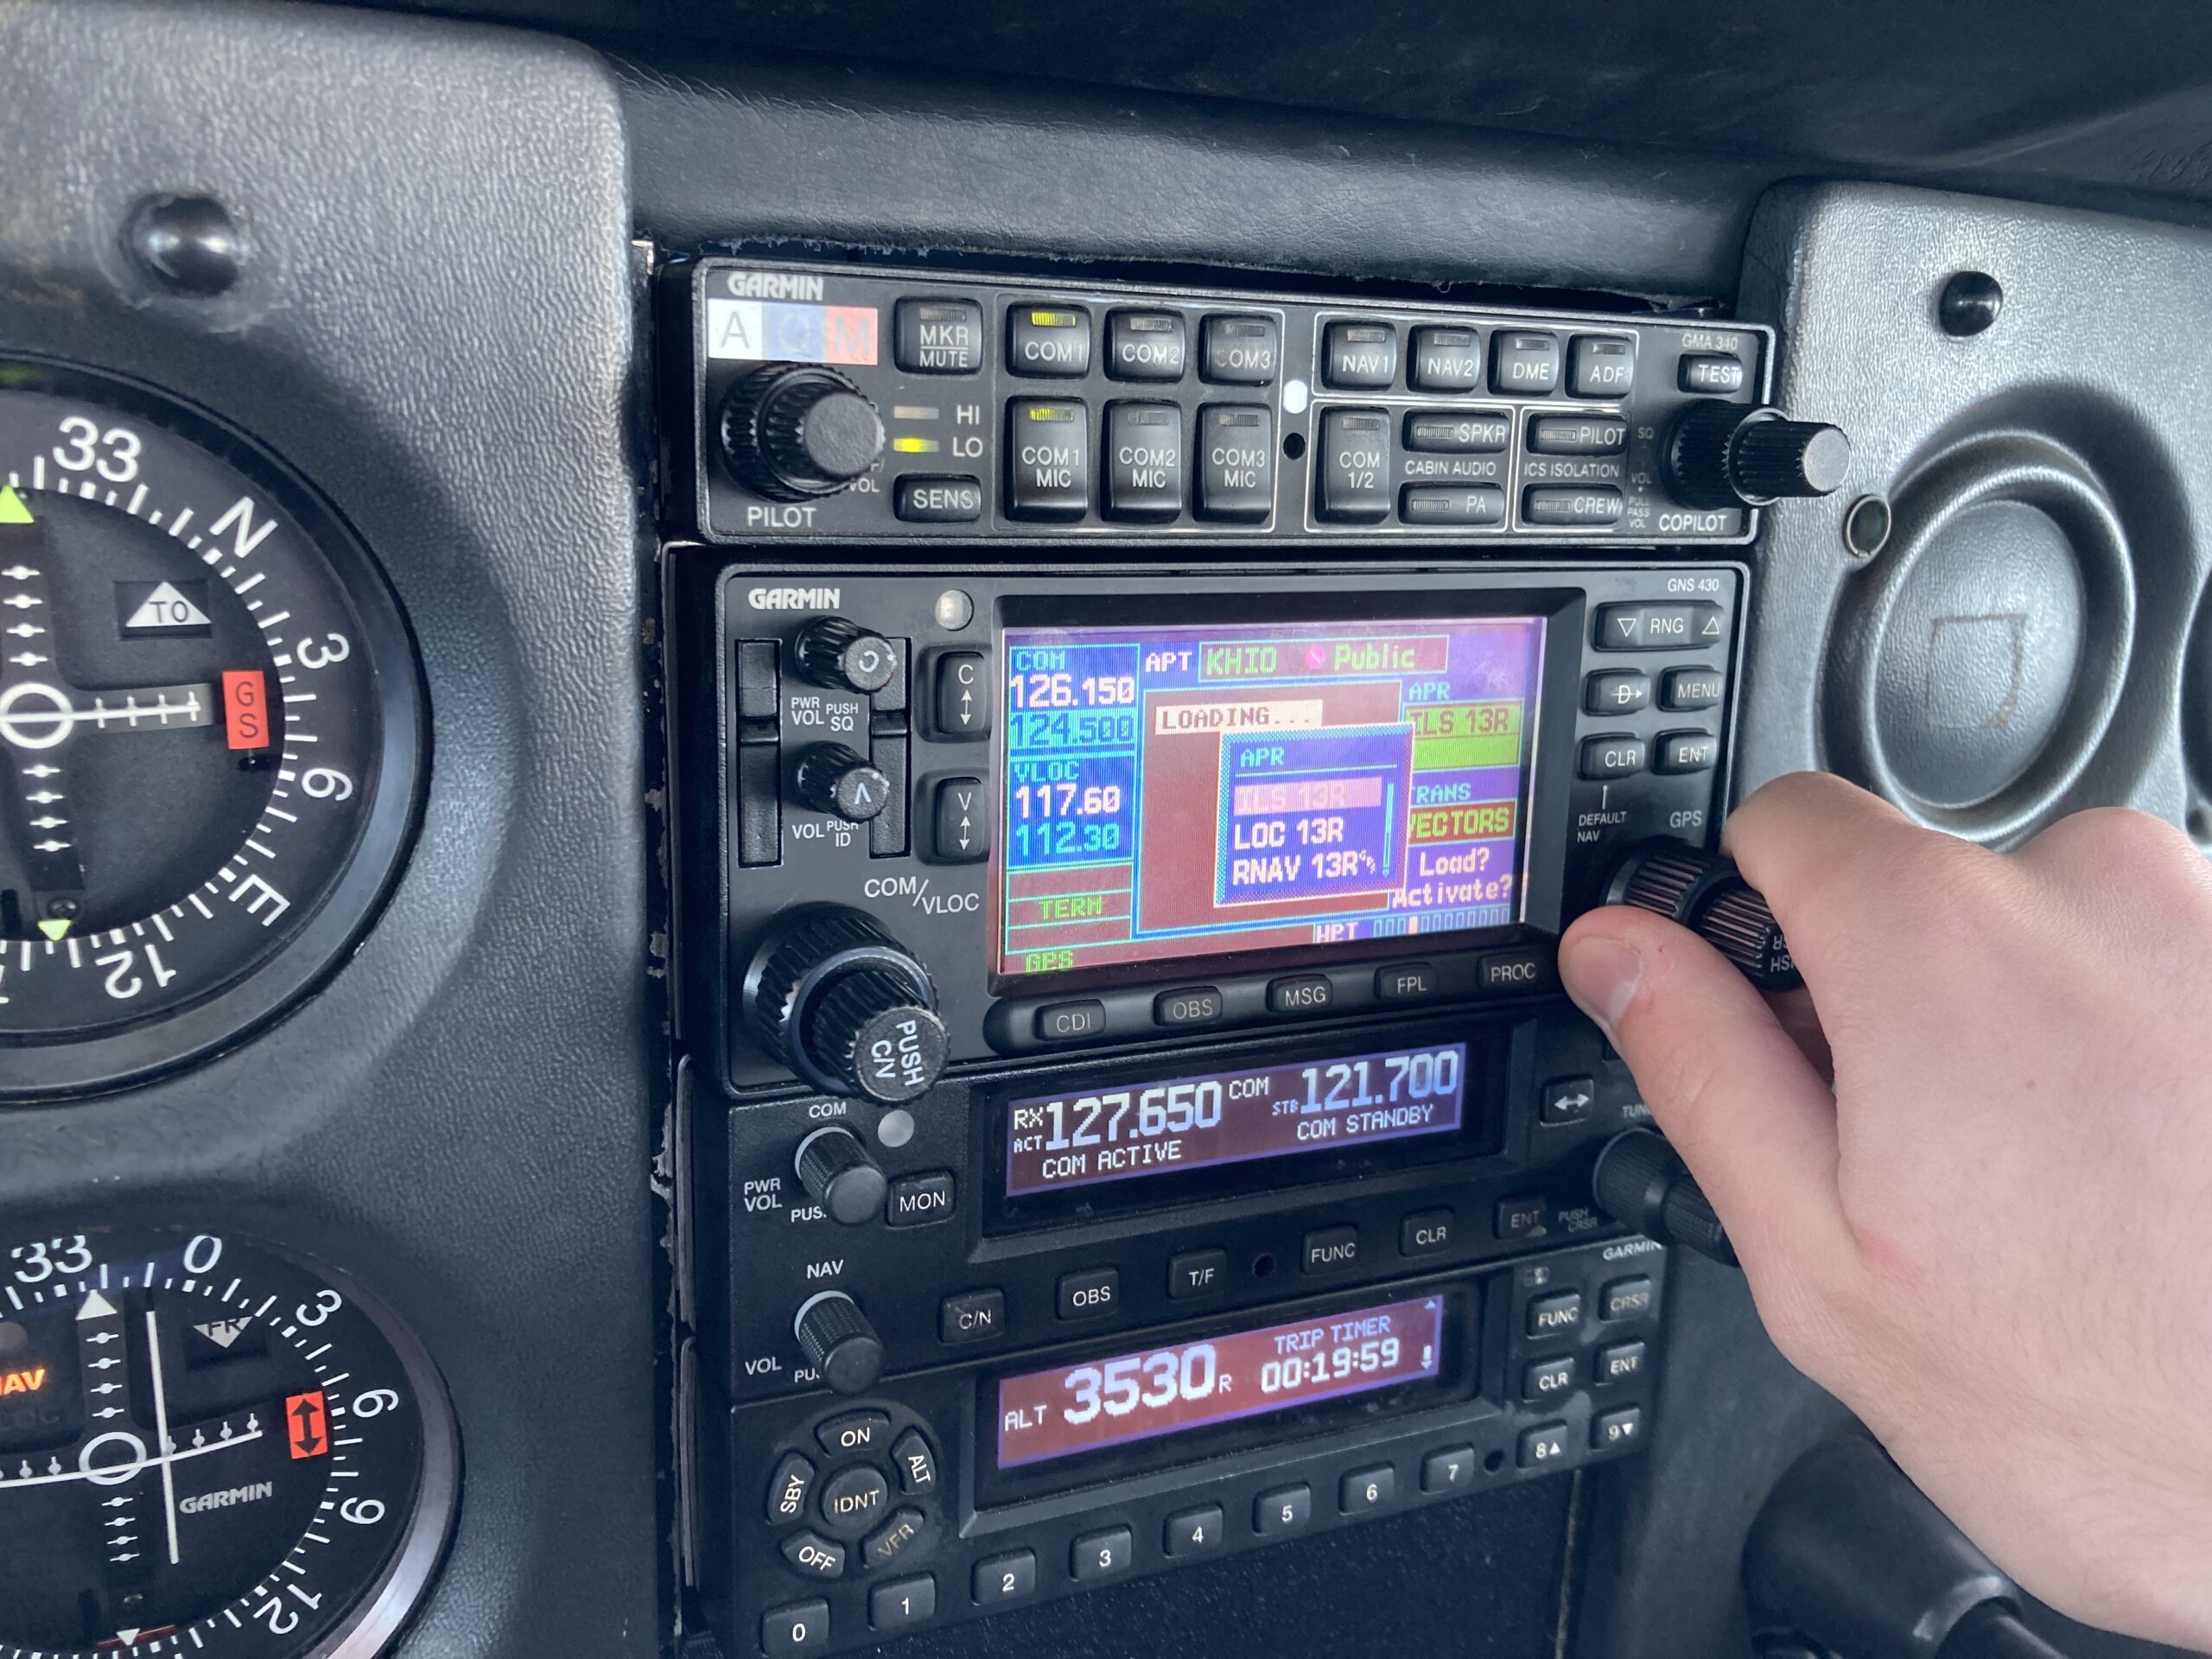
Procedures
By selecting “PROC” we can select our departure, arrival and approaches.
- In Garmin 430 units, simply press “PROC” button to access procedure page.
- In Garmin 650 units, Procedures are found via the menu; “PROC”
Departure procedure is obtained from IFR “Craft” clearance. In the run-up area, we will have our IFR clearance*. Arrival procedure could be specified in our craft clearance or while en route. For most of our training flights, we probably wont use arrival procedures**. On a local training flight, we might know exactly what our first approach will be. If this is the case, we can remain ahead of the airplane by programming our approach on the ground. On cross country flights, winds could change (runway change), approach-in-use at destination could change while we’re en route. We will need to have the skill to program the approach while flying.
NOTE: procedure selection will autofill airport when loading a procedure. For example, loading an approach, will automatically present us with approaches from our arrival airport*** This can be changed.
For example:
we load a flight plan from KSLE -> KSPB. At any time, when we press, PROC>Approach our GPS will first present approaches available at KSPB (since it is our last point on our flight plan). If we want to divert to a different airport, we can instead change the airport from the approach selection screen!
If we want to divert, now, we press PROC>Approach>Airport, then type in the airport we would like to shoot an approach at, then we will be able to select approaches at diversion airport.
*It is possible for no SID to be specifcally assigned; in which case we expect to fly an ODP or recieve radar vectors.
**because most arrival procedures have MEAs above our aircrafts’ service ceilings.
***Most GPS units determine “Arrival airport” as the last airport listed on our flight plan.
Charts
This step in our Radios/avionics check is just verifying we have our charts downloaded, readily accessable, and up-to-date. Procedure briefing is outside the scope of this checklist, but must be incorporated into our “takeoff briefing”.
OBS (Nav or VLOC?)
Verify our CDI(s) is either on NAV or VLOC mode, as desired for our departure procedure / route of flight
OBS (Course)
Twist CDI(s) to correct course(s). If using ground-based navigation (VLOC mode), we find our OBS setting from our chart. If using GPS navigation, we use our GPS unit Desired Track “DTK” to find our OBS setting.
Bugs
If our airplane is equipped, we should set our heading bugs to our departure heading.
Example:
We are taking off from runway 27, but our departure procedure tells us to turn left heading 190 after passing 400 AGL. During our radios/avionics check, we would twist our heading bug to 190, to remind us of our heading to fly on departure.
RAIM / WAAS
When navigating with our GPS under IFR, we must verify our RAIM and or WAAS capability before flight.
- In Garmin 430 units, verify RAIM and WAAS (“sbas”) by finding them under our “AUX” page.
- In Garmin 650 units, verify RAIM via Menu>Utitlities>Raim prediction.
WAAS via menu>System>GPS Status>”SBAS”
Timer
Remember 91.205?
Under IFR we need a clock. This is the time to verify it is operational.
Verify clock hands are moving & timer counts up, pauses, and resets.
Ipad Connection
Lastly, If flying with an EFB and a bluetooth connective avionics, a good final step is to connect ipad to bluetooth. This can be a good final check reminder